
As soon as the new Spellbinders Christmas Word Blocks die set arrived I wanted to try it out. This is the first card I have made with it but it certainly won’t be the last.
As soon as the new Spellbinders Christmas Word Blocks die set arrived I wanted to try it out. This is the first card I have made with it but it certainly won’t be the last. There are so many things you can do with it, using the various dies and different colour combinations, the possibilities are endless.
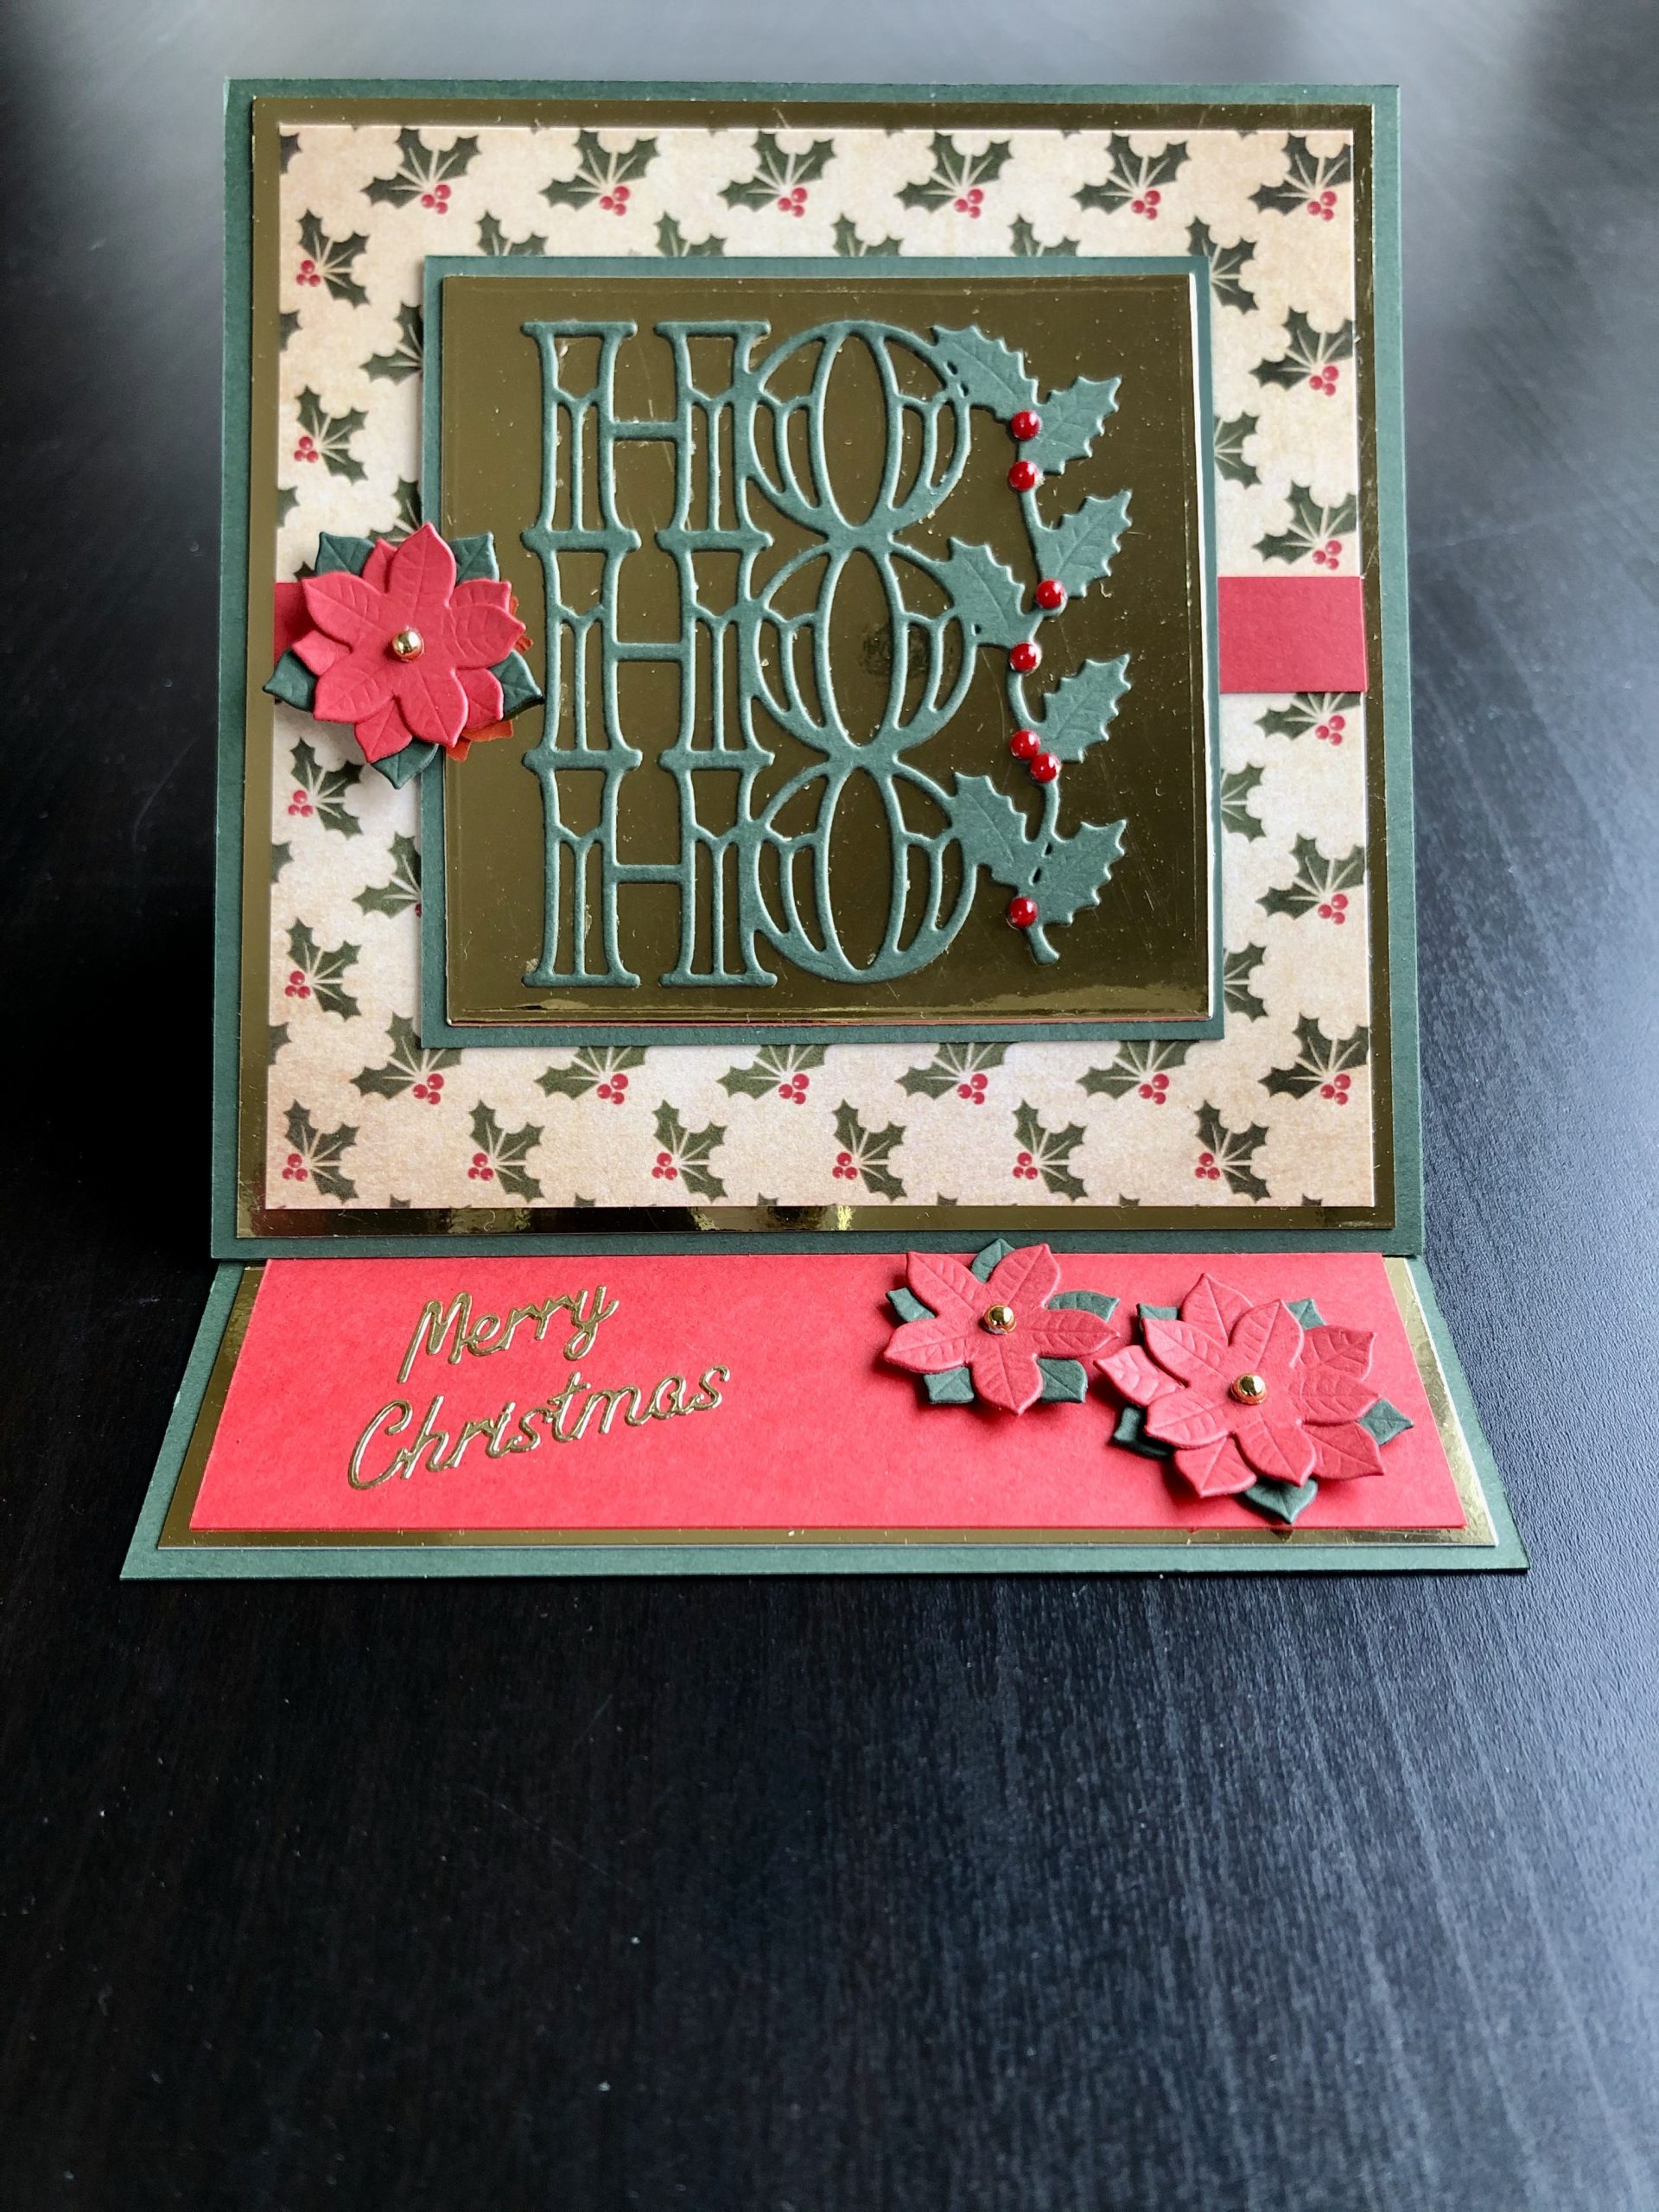
I thought an easel card would work nicely using the die cut poinsettias to prop up the front of the card. I used traditional Christmas colours for this first Christmas card of 2020.

To Make the Card
The first thing is to make the easel base, cut a piece of green card 12cm x 24cm and score it at 12cm and 18cm. Cut another piece of green card 12cm x 12cm. The second piece is the card front, which you can attach it to the base later. It is much easier to work on the card front before it is attached.
Layer the card front with gold mirror card and patterned paper. I chose paper with a holly pattern to match the holly decorating the Ho Ho Ho die. Cut a strip of red card approximately 12mm wide and long enough to go across the card front, adhere this across the middle of the card.
Use the square die included with the set to cut a gold mirror card square. Then cut a green square about .5cm bigger and glue the gold card on top of it. Die cut Ho Ho Ho from green card, and adhere to the centre of the gold square. Add red adhesive pearls to the holly leaves to look like berries.
Cut the poinsettia die several times, a few in red and some in green. Layer these up to make different sized flowers. Add adhesive gold metal gems to the centres of the flowers and attach one to the card front to the left of the centre square.

This is a side view so that you can see the construction of the easel base.
Cut gold mirror card 3.5cm x 11.5cm and adhere to the front of the card base. Layer this with red card, attache two more poinsettias and a gold Merry Christmas peel off. Finally attach the card front to the base. The card should stand up propped by the red and gold card and poinsettias, but will fold just about flat to put in an envelope.
I am very happy with the way this card turned out. All I need to do now is decide where to send it when the time comes. Thank you for calling in, all supplies used are linked below.
Debbie x