Hi, the Creative Expressions Christmas Lights die set was new last year, I only used it once in the run up to last Christmas so felt it deserved another outing. I used glitter card for
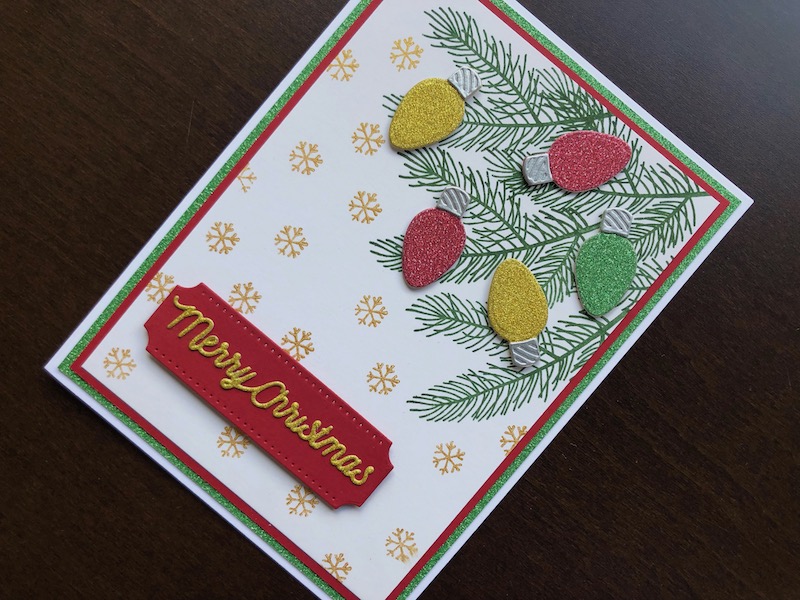
Hi, the Creative Expressions Christmas Lights die set was new last year, I only used it once in the run up to last Christmas so felt it deserved another outing. I used glitter card for the light bulbs to make them look shiny, I hope you can see the effect in the photograph.

To Make The Card
Start with a white 5″ x 7″ blank card and trim it down to 12.5cm x 16.5cm, this makes it easier to measure the card for the layers. Add a layer of green glitter card, then a layer of dark red card. Cut a piece of white card 11cm x 15cm and stamp a cluster of green pine branches in the top right corner. Stamp the rest of the panel with gold snowflakes in a random pattern. Die cut 5 Christmas lights from glitter card, 2 red, 2 gold and 1 green, then cut 5 of the little caps from matt silver card and glue one to each of the lights. Adhere the lights over the pine branches, using adhesive foam pads.
Die cut the background for the sentiment from dark red card and the wording from gold glitter card. Glue the wording to the pierced background strip, then adhere to the bottom of the card, again with adhesive foam pads.
I think it took me longer to decide about the colour scheme etc. than it did to make the actual card! I am happy with the end result though. Thank you for your interest. All the products used are linked below.
Debbie x
Products Used:
- White 5″ x 7″ blank card and envelope
- No shed glitter card Festive Tones
- A4 Coconut White foundation card
- Dark red, silver card
- Mini Pine Branch clear stamp set
- Cottage Ivy Dew Drop ink pad
- Big Bubble Small Topper clear stamp set (for the snowflake)
- Gold pigment ink pad
- Christmas Lights die set
- Big Shot die cutting machine
- Pierced Merry Christmas die set
- 1mm adhesive foam pads
- Double sided tape
- Dries clear glue

