
Hi Everyone, I usually like to add lots of texture and dimension to my cards so I decided to do the opposite with this one and make it two dimensional (well almost!). It provided the
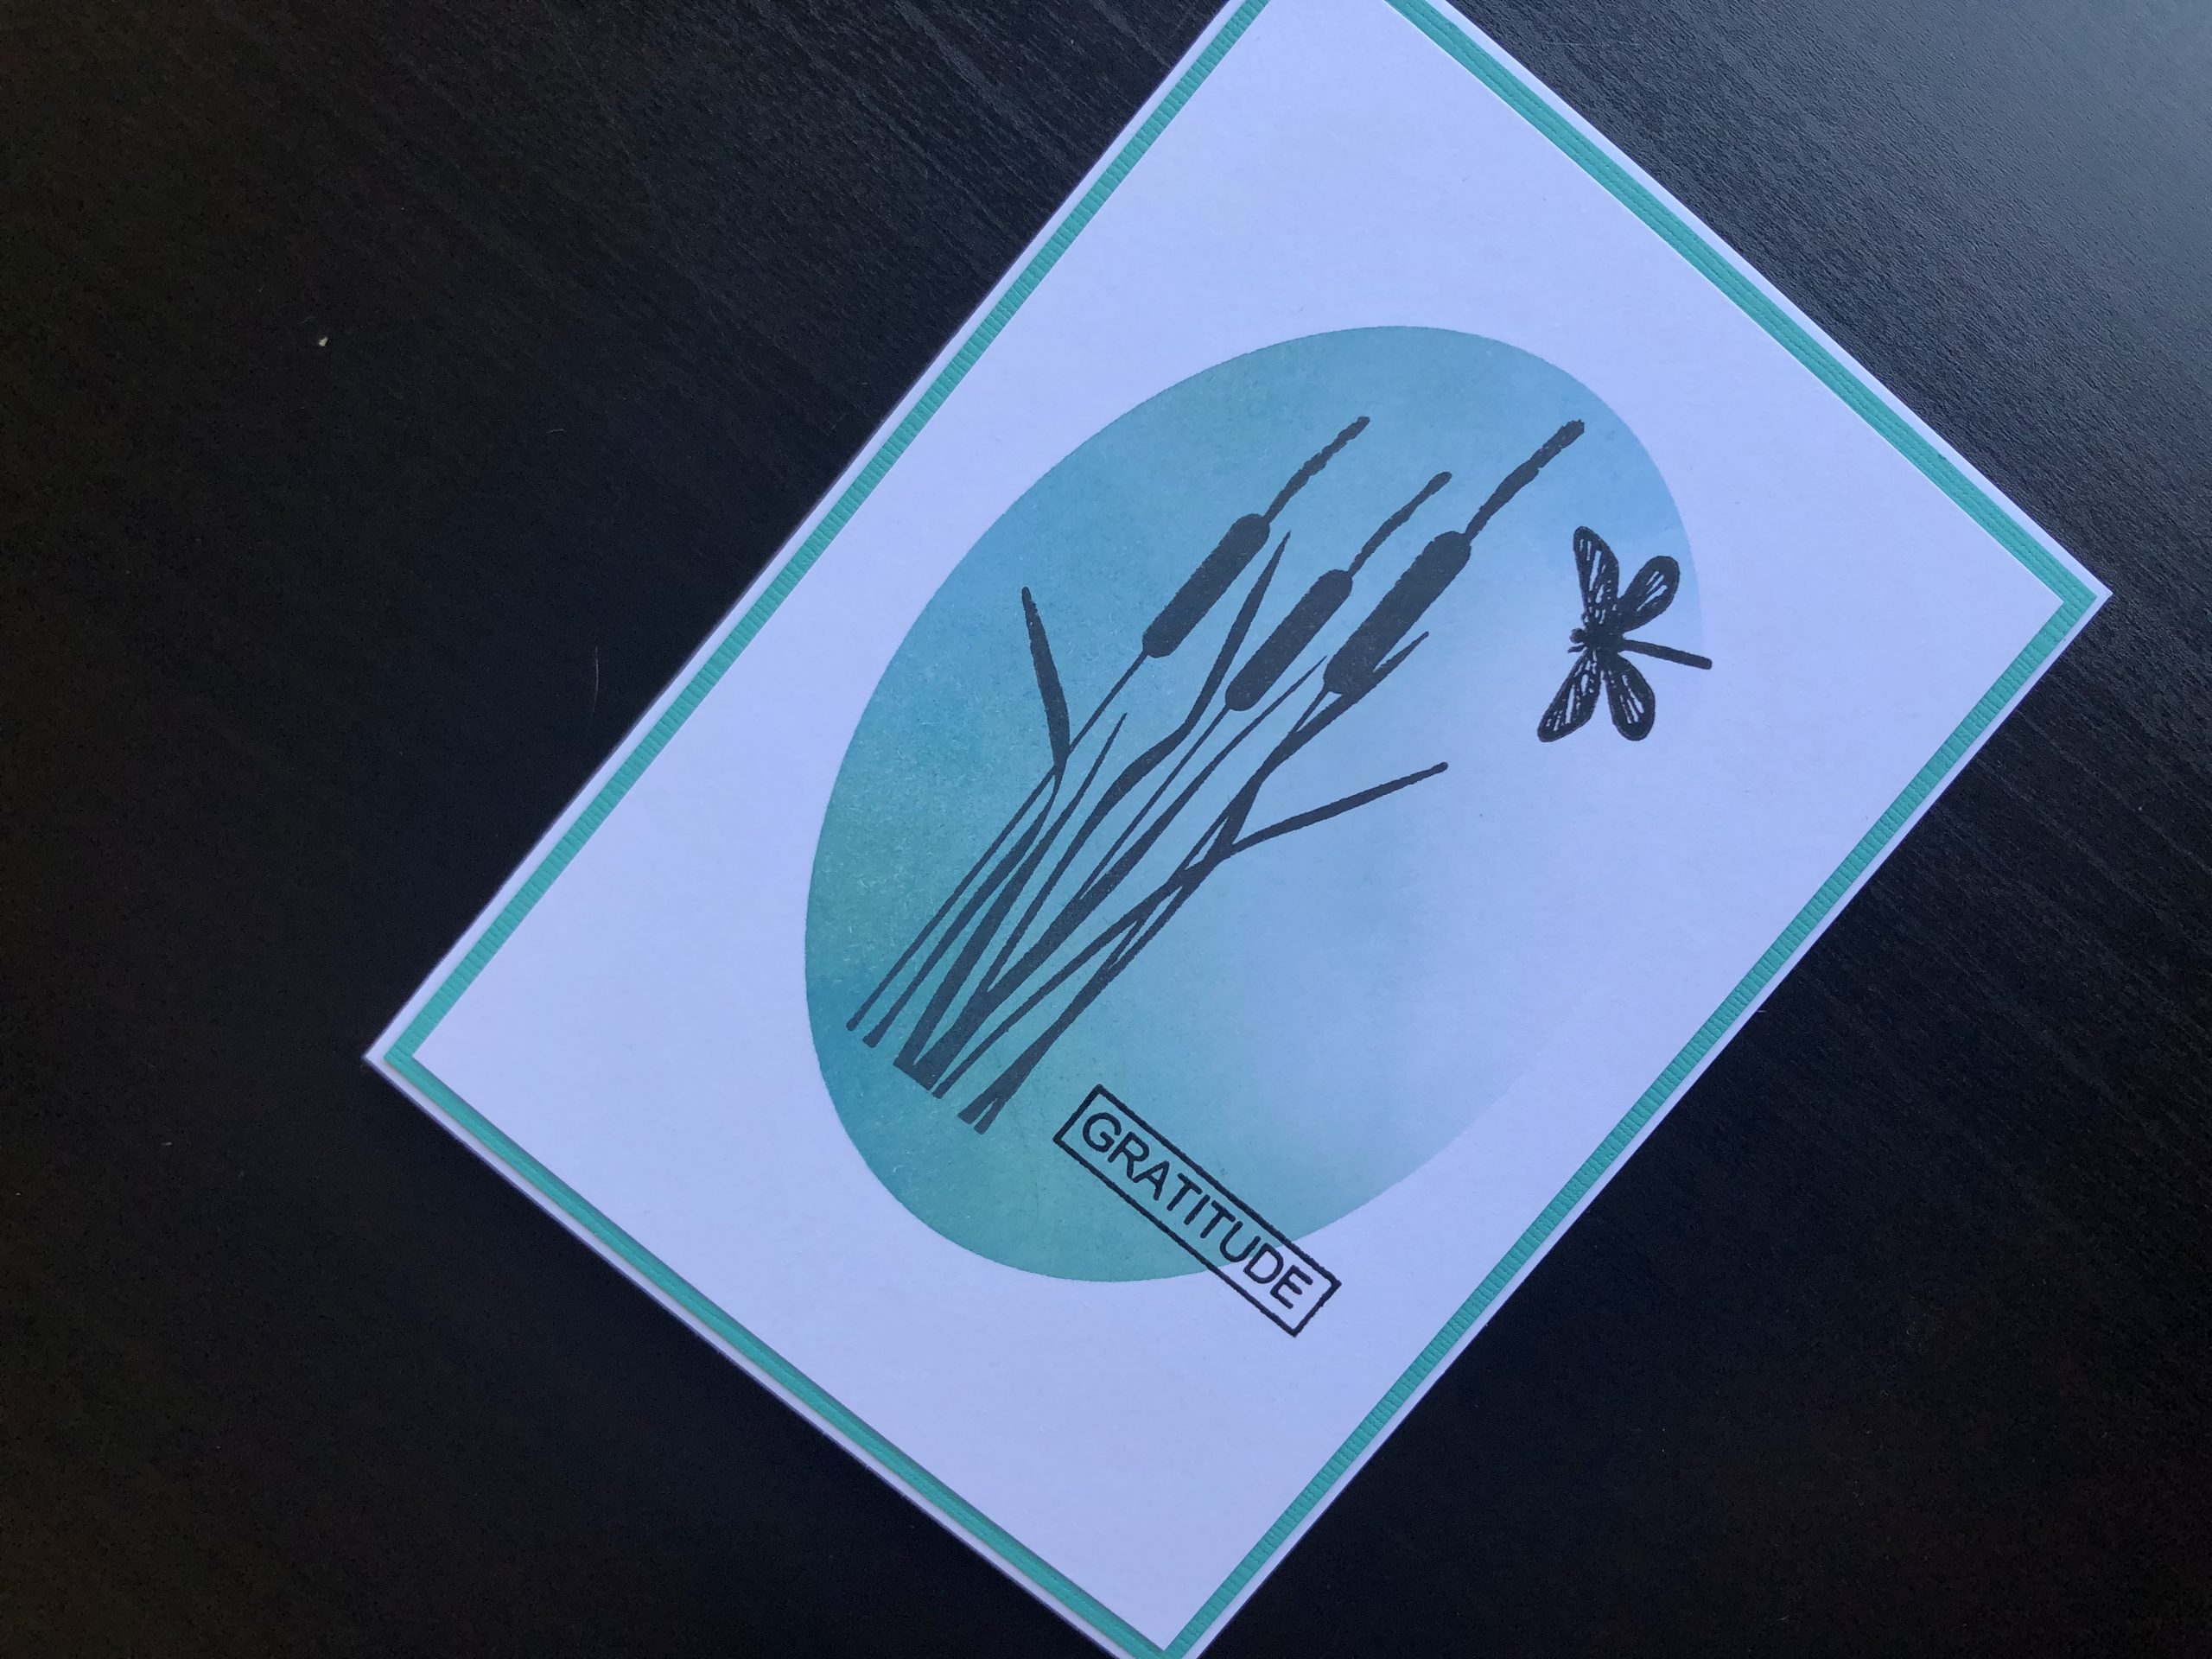
Hi Everyone, I usually like to add lots of texture and dimension to my cards so I decided to do the opposite with this one and make it two dimensional (well almost!). It provided the perfect opportunity to use this new bullrush silhouette stamp, which is lovely.

To Make the Card
Start with a white A6 blank card and layer it with turquoise card, then cut a piece of white card slightly smaller to form the next layer. To create the oval mask, cut a piece of masking paper to the same size as the white card, then die cut an oval shape from the centre of it. Peel off the backing paper and stick the masking sheet over the white card.
Using a foam ink blending tool and a selection of inks, colour the inside of the oval, making the colour stronger at the outside edges and fading diagonally towards the top right hand area. Leave a small section without ink at all for a partial mask. When you are happy with the inked colour, carefully peel the masking sheet away.
Stamp the bulrushes, dragonfly and greeting in black ink, then adhere the whole panel to the front of the card.
I like the partial masking effect, making the masked area fade into the card, and I love the bulrush stamp. Thank you for visiting, I hope you like it too.
Debbie x
Supplies used:
- White A6 blank card and envelope
- Turquoise card
- A4 smooth white card
- Stamp masking sheet
- Oval Frames die set
- Bulrush silhouette stamp
- Dragonfly Garden stamp set
- Word Fragments stamp set
- Double sided tape runner
- Press to Impress stamping platform
- Big Shot die cutting machine
- Distress Oxide ink pads Salty Ocean, Broken China, Tumbled Glass, Bundled Sage
- Versafine Onyx Black pigment ink pad