
Hi everyone, although this die set has been around for a little while, this is the first time I have used it. I am very pleased with the results, especially the 3D layered effect that
Hi everyone, although this die set has been around for a little while, this is the first time I have used it. I am very pleased with the results, especially the 3D layered effect that is created. I more or less followed the colour scheme that is on the packaging as it worked well with what I wanted for the background.

To Make The Card
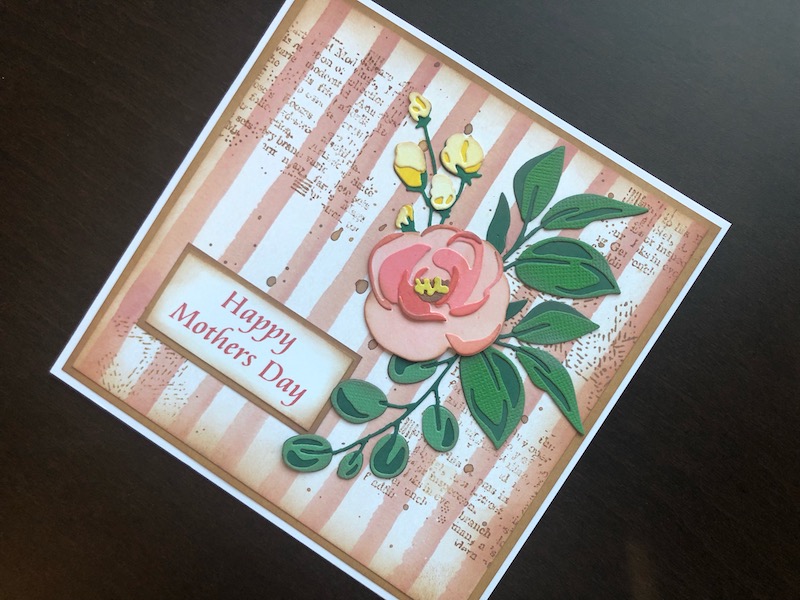
Start with a 6″ x 6″ white blank card and trim it down to 14.5cm square. Cut a 14cm square layer of Kraft card, ink the edges with Vintage Photo and adhere to the card front. Trim a piece of the Watercolour Stripes patterned paper, with peach coloured stripes to 13.5cm square. Randomly stamp blocks of text and hatching on the patterned paper with Vintage Photo Distress Oxide ink. Smoosh some Vintage Photo on to a craft mat and spritz with water. Pick up some of the ink on a fine paint brush and splatter the background layer. Ink the edges of the patterned paper, again with Vintage Photo. Adhere this layer over the kraft layer.
I used two methods for the flowers and leaves. For the flowers I cut them all from white card and used various Distress Oxide inks to colour them. I used Fossilized Amber for the flower buds applying it lightly to the top layers and more heavily to the bottom layers. For the main flower I used a lighter and heavier application of Worn Lipstick with Fired Brick on the final smaller pieces. For ease, I left the die cut pieces in the carrier sheet to hold them in place as I inked them. Following the embossed lines on the die cut pieces and the example on the packaging I glued the layers together. I then inked all the edges with Frayed Burlap.
I cut the leaves from green card, once I had glued them together, I inked the edges with Vintage Photo. Arrange the flowers and leaves on the card and glue into position. I like to leave some of the ends unglued so that they don’t look completely flat.
Stamp the greeting on white card with Fired Brick ink. Layer this onto kraft card and again ink the edges with Vintage Photo. Adhere this to the front of the card. Some of the small flower parts are quite fiddly but I found that a set of curved edge tweezers made it much easier. I hope you like the card, please feel free to leave a comment. All the supplies used are linked below.
Supplies Used:
- White 6″ x 6″ blank card and envelope
- Kraft card stock
- Watercolour Stripes 6″ x 6″ patterned paper pad
- Woodware Additions clear stamp set
- Distress Oxide ink pads, Vintage Photo, Worn Lipstick, Fired Brick, Fossilized Amber, Frayed Burlap.
- Foam ink blending tool
- Bloom Colorize die set
- Big Shot die cutting machine
- Happy Mothers Day clear stamp set
- Press to Impress stamp positioning tool
- Cosmic Shimmer Dries Clear glue
- Curved Craft Tweezers