
Hi here’s a lovely card with a slightly unusual colour scheme. It is easy to make once you have decided on which colours you want to use. I included silver mirror card to add some
Hi here’s a lovely card with a slightly unusual colour scheme. It is easy to make once you have decided on which colours you want to use. I included silver mirror card to add some shine to it.

To Make The Card
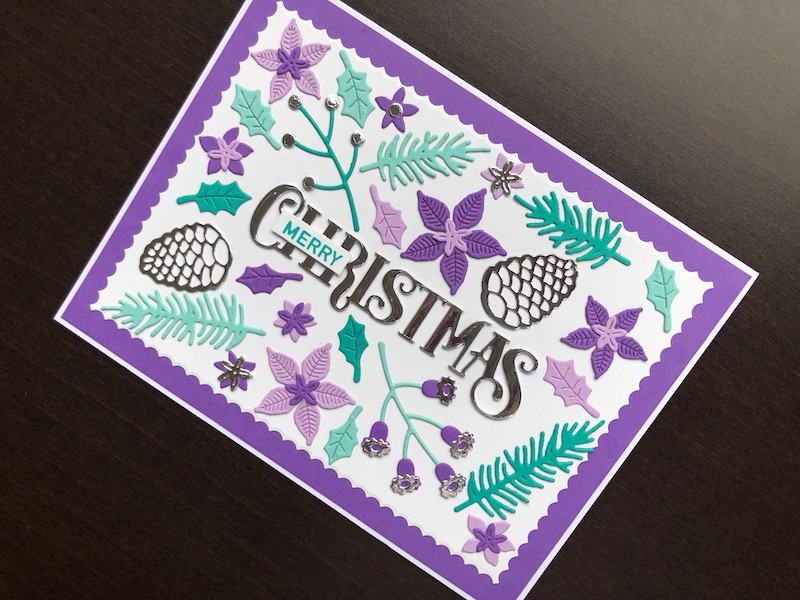
Start with a white 5″ x 7″ blank card and trim it down to 12.5cm x 16.5cm, then add a layer of purple card. Die cut a piece of white card with an inverted scallop edge rectangle die 10.5cm x 14.5cm, adhere this to the centre of the purple panel. Cut the word “Christmas” twice from silver mirror card and glue them on top of one another, then adhere to the centre of the card.
Cut two pine cones from silver mirror card and position above and below the Christmas word. Now cut a selection of pine branches, poinsettias, holly leaves and berry stems and arrange them to fill the white space around the word. It is best not to glue anything until you have decided the position for everything. Make sure you mix up the colours and sizes of the flowers and foliage. I found it helpful to take a photograph of the layout before starting to glue to use as a guide. Stamp the word “Merry” in turquoise ink on a thin strip of white card and adhere over the Christmas word.
As I said it is an easy card to make and would also be easy to adapt, you could change the colours, use different foliage dies, even add some adhesive crystals for some extra sparkle. Thank you for visiting, I hope you like the card, if you would like to try it for yourself all the products used are linked below.
Debbie x
Products Used
- White 5″ x 7″ blank card and envelope
- Purple, lilac, turquoise and aqua card
- A4 Coconut White foundation card
- Silver mirror card
- Extendable paper trimmer
- Christmas Word stamp and die set
- Christmas Blooms die set
- Big Shot die cutting machine
- Christmas Sentiment Strips clear stamp set
- Peacock Feathers Distress Oxide ink pad
- Stamp positioning tool
- Dries clear glue