
Hi, here I am with the first of this year’s Christmas cards. I can hardly believe it’s that time again. The Santa Greetings Colorize die set is brand new, designed by Tim Holtz for Sizzix,
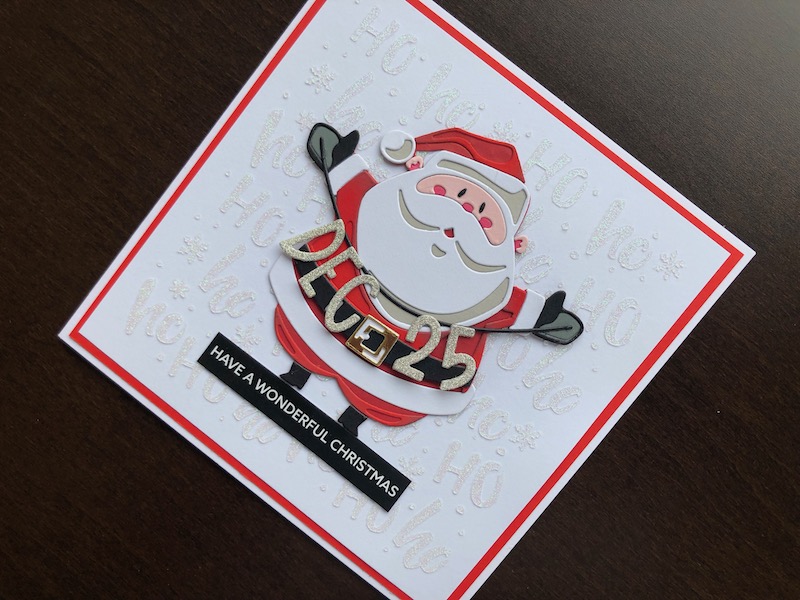
Hi, here I am with the first of this year’s Christmas cards. I can hardly believe it’s that time again. The Santa Greetings Colorize die set is brand new, designed by Tim Holtz for Sizzix, it is a great die set. It not only includes all the dies to cut the layered Santa figure but all the letters of the alphabet and numbers so that you can add any message or name etc. to the string that he holds. The Ho Ho Ho stencil seemed like the perfect background for a Santa card.

I hope you can see from the photo that the background is stencilled with glitter paste to add both texture and sparkle.
To Make The Card
Start with a white 6″ x 6″ blank card and layer it with bright red card. Cut a 13.5cm square piece of white card and lay the stencil over it. Hold it in place with stencil tape. Use a palette knife or similar to spread the glitter paste evenly across the stencil. When you have achieved good coverage, carefully lift the stencil away and set the card aside to dry. Give the stencil a wash with warm soapy water straight away as the paste is more difficult to remove if you let it dry.
While the background is drying, cut all the pieces of Santa in the various colours as indicated on the back of each die. You can also use the picture on the packaging as a guide. Glue all the pieces together. Die cut the DEC 25 letters and numbers from silver glitter card and glue them to the die cut string. I found it easier to glue the string to his hands first and then position the letters. The sentiment is from the Wordies Christmas pack. Cut the strip with the required message, then run a black marker pen around the cut edges to get rid of any white bits.
Once the background is dry, adhere it to the card front. Position Santa in the middle of the card, I used a generous amount of glue to adhere him to make sure that it stuck firmly to the raised, stencil paste. Finally adhere the sentiment below Santa to make it look as though he is standing on it.
I am really pleased with this card, I love the jolly Santa and the fact that you can add different messages to him or use him on his own. I hope you like it too, all the products used are linked below.
Debbie x
Products Used
- White blank 6″ x 6″ card and envelope
- Various colours of card stock including black, grey, two shades of red, white, light and dark pink.
- Silver glitter card
- Gold mirror card
- Extendable paper trimmer
- Ho Ho Ho stencil
- Stencil tape
- Ultra sparkle texture paste Frosty Sparkle
- Santa Greetings Colorize die set
- Big Shot die cutting machine
- Wordies Christmas sentiment strip sheets
- Double sided tape dispenser
- Dries clear glue