
Hi, here’s a card that is pretty quick and easy to make, but doesn’t look like it was! I have used the inked embossing folder technique before and I liked the result so decided to
Hi, here’s a card that is pretty quick and easy to make, but doesn’t look like it was! I have used the inked embossing folder technique before and I liked the result so decided to try it again for a Christmas card.

To Make The Card
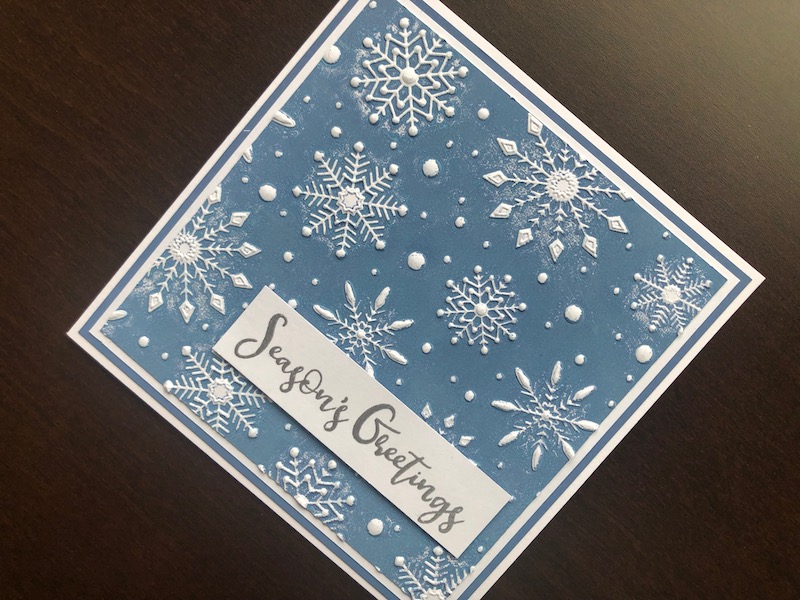
As I mentioned at the beginning, this is not a difficult card to make, there are really only three steps involved. Take a white 6″ x 6″ blank card and trim it down to 14.5cm square. This makes it easier to cut the layers. Cut a piece of white card 14cm square and use a foam ink blending tool to ink all around the edges to about 1 cm in, with blue ink. This creates a background layer that will match perfectly with the embossed layer. Adhere this to the card blank. Add a 13.5cm square layer of white card on top of the inked layer.
Now cut a piece of white card approximately 14cm square, open the embossing folder and find the flat side. Rub the ink pad all over an area slightly bigger than 14cm square. Lay the white card on it and run it through your machine. Open the folder carefully to check the ink coverage, re-ink and emboss until you are happy with it. It took three goes for my card. The ink coverage is not perfect but I like the way it has created aura’s around the snowflakes. I have no idea how it happened, just a happy accident. Set this aside for the ink to dry.
In the meantime stamp the sentiment in watermark ink on white card and heat emboss with silver embossing powder, trim down to size. Once the inked panel has dried, trim it to 13cm square and glue to the card front. Attach the sentiment strip with foam pads to the bottom right hand area of the card.
I love the look of this card, the silver sentiment adds just enough shine. Of course you could use any other colours and embossing folders to switch up the design. Thank you for your visit, I hope you like the card. All the products used are linked below.
Debbie x
Products Used
- White 6″ x 6″ blank card and envelope
- A4 Bright White Card
- Extendable paper trimmer
- Flurry of Snowflakes embossing folder
- Faded Jeans Distress Oxide ink pad
- Foam ink blending tool
- Big Shot die cutting machine
- Merry and Bright clear stamp set
- Watermark ink pad
- Stamp positioning tool
- Metallic Silver embossing powder
- Heat gun
- Dries clear glue
- 1mm adhesive foam pads