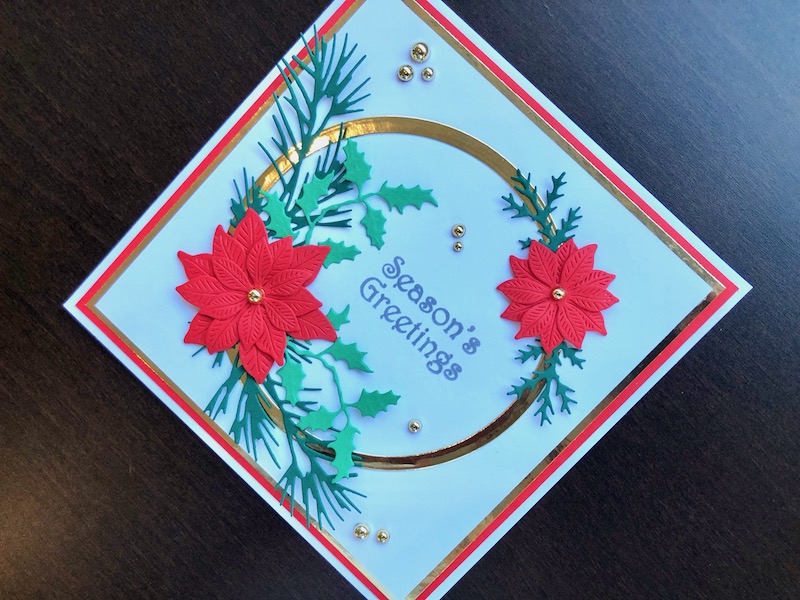
Hi here’s my last Christmas card for 2023, so I thought I would make a classic Christmas card in traditional colours, with poinsettias, holly, pine and a bit of bling. To Make The Card Start
Hi here’s my last Christmas card for 2023, so I thought I would make a classic Christmas card in traditional colours, with poinsettias, holly, pine and a bit of bling.

To Make The Card
Start with a white 6″ x 6″ blank card and trim it slightly to make it 14.5cm square, this makes it easier to measure and cut the layers. Add layers of red and gold mirror card each 0.5cm smaller than the one before. Adhere the layers to the card front. Cut a piece of white card 13cm square and a gold circular frame 10.5cm diameter. Die cut three poinsettia layers from red card in three sizes and glue them on top of one another to form a flower, repeat this with a two layer smaller flower. Die cut an assortment of winter foliage from green card. Lay the circle on the white panel and arrange the flowers and foliage. Use the layout to decide the position for the sentiment. Put the stamp in place, then carefully remove all the other pieces and transfer the white card to a stamp positioning tool. Stamp the sentiment in grey ink.
Once the sentiment is dry, adhere the white panel to the card front and glue the circle frame in place. Use thin foam pads to adhere the poinsettias, then glue the ends of the foliage and slide them under the poinsettia petals and press into place. Add a gold adhesive pearl to the centre of each poinsettia and several others both inside and outside the circle.
Although it looks like a lot is going on, it is actually a quick and easy card to put together. Thanks for visiting, I hope you like it. All the products used are linked below.
Debbie x
Products Used
- White 6″ x 6″ blank card and envelope
- Red and green card
- Gold mirror card
- Extendable paper trimmer
- Nested Circles die set
- Layered Poinsettias die set
- Winter Greens die set
- Big Shot die cutting machine
- Essential Festive Sentiments clear stamp set
- Stamp positioning tool
- Hickory Smoke Distress Oxide ink pad
- Self adhesive gold pearls
- Dries clear glue
- 1mm adhesive foam pads

