
Hi just as I started a series of cards for children, a range of Disney Film themed card making kits were released. Of course they are perfect for children’s card making. We have four designs
Hi just as I started a series of cards for children, a range of Disney Film themed card making kits were released. Of course they are perfect for children’s card making. We have four designs in stock, Lion King, 101 Dalmatians, Jungle Book and Toy Story. Toy Story was a big favourite in our family and we had a Buzz Lightyear toy so it was an easy choice to use his character for this card. The kits include card toppers, patterned papers, sentiments and plain papers, everything you need really.

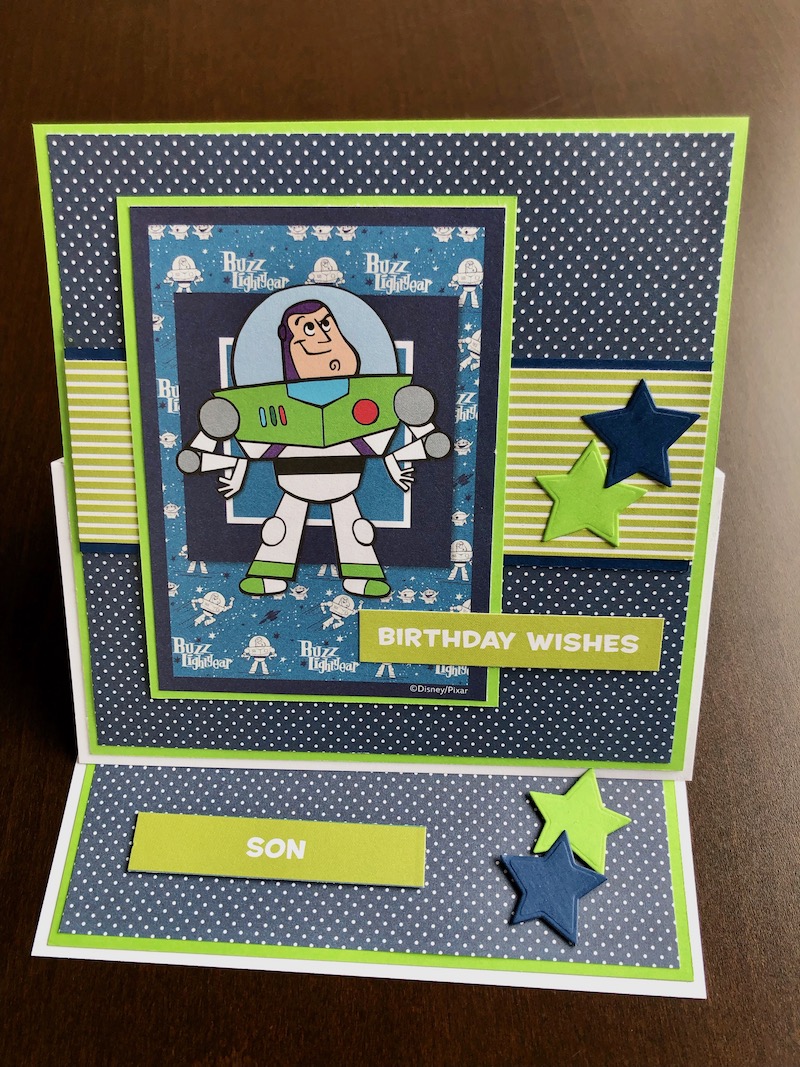
The card kit makes easy work of the design so I decided to add some interest by making it an easel card. The construction is simple as you can see from this side view.

To Make The Card
Start with a white 6″ x 6″ blank card and trim it to 14.5cm square, this makes it easy to size the layers. Open the card, then score and fold vertically the centre of the left side. This creates the base for the easel shape. Cut green card 14cm square and adhere to the unfolded half. Cut blue polka dot paper 13.5cm square and adhere over the green card. Cut a piece of white card 14.5cm square and layer this with green card and blue polka dot paper in the same way. This will be the front panel of the card.
Cut a strip of dark blue card, 13.5cm x 4.5cm, and a strip of green striped paper 13.5cm x 4cm. Adhere the striped paper on the blue card, then adhere the strip across the centre of the card front panel. Cut the Buzz Lightyear card topper from the sheet and mount it on green card 8cm x 11cm. Adhere this to the card front panel over the centre strip, nearer to the left side. Die cut two small stars, one green and one blue and adhere them on the centre strip beside the card topper. Cut a “Birthday Wishes” sentiment from the sheet and adhere to the bottom right hand area of the card, overlapping the card topper.
To finish the card adhere the front panel to the front of the folded half of the card. Cut two more stars, green and blue and adhere them to the base of the card. Use thin foam pads to adhere them and raise them slightly so that they become the prop for the card front. Finally cut the “Son” strip from the sheet and adhere to the card base.
This is a great card for any boy or girl, easily made using the card kit. I hope you like it, thank you for your visit. All the products used are linked below.
Debbie x